Are you looking for an Old Fashioned Education download instructions? See Step 2 here. Download a Project Gutenberg file to your computer.
Let us start with a free curriculum online that has the books already listed out: Ambleside Online. This Step shows how to download an etext file to your computer from a link at Ambleside Online.
 From here, click on Ambleside Online Curriculum
Choose the Year you are wanting to copy books for. I will go with Year 7. Click on either "Booklist" or "weekly schedule" to be taken to linked books that you are wanting to copy.

From this page you can choose what linked book you want to copy. I have chosen A. W. Tozer's The Pursuit of God. The first link is broken so click on the linked word 'here' to be taken to Project Gutenberg's etext.

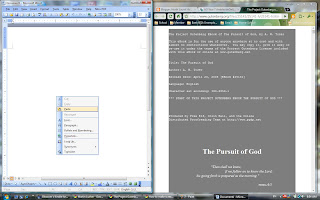
You will need to copy all the text on this page. If you are using Google Chrome and you're not set up to right click and copy all, then you will have to manually highlight all text. After that you can right click and copy. See the next screenshot.

Open a Word document (or other word processing program) and paste the copied text onto a blank document. You can do this simply by right clicking on the blank 'page' and clicking paste. I have both screens minimized so that I can see them side by side but you don't have to have them that way.

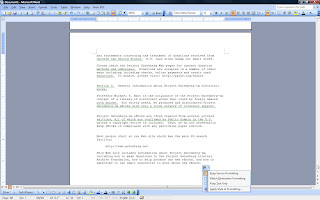
Here you can see the text in the Word document. After you paste, usually there will be a little clipboard icon with options for formatting. If you leave it as it was pasted, the font may be smaller than you would like or it may take up more pages than needed because of line breaks. This document does not have that problem so I left it as it was copied. Usually I will click "Keep Text Only" which will change all of the font to Times New Roman, size 12.

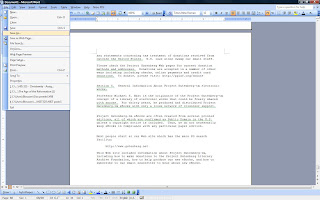
Next you will want to save to your computer OR a CD. If you don't have a CD yet, simply save to a location that you want. I usually have a Homeschool folder that I save books and such to that deal with homeschooling.
Your hard drive (usually C:) is where you will want to go from there. From the hard drive you should be able to locate the final destination that you want to place the file in. If you have your CD all ready to go, then you will choose one of the other drives (most likely D:), and it usually has a CD beside to show you. If you do have a CD then click the drive you want to save it to, save and voila! It's done.
If you need to know how to download a file from Project Gutenberg that is not etext, follow Step 2.


No comments:
Post a Comment
Thank you for stopping by my blog. Please leave a comment, I love them! Have a great day! ~Blossom
PS: all comments are moderated so you won't see it posted immediately :)